How to Authenticate Vintage Jewelry at Home (What You Can Actually Do)
Published: January 28, 2026
You found a piece online. The photos look promising. The seller says "authentic." You're tempted.
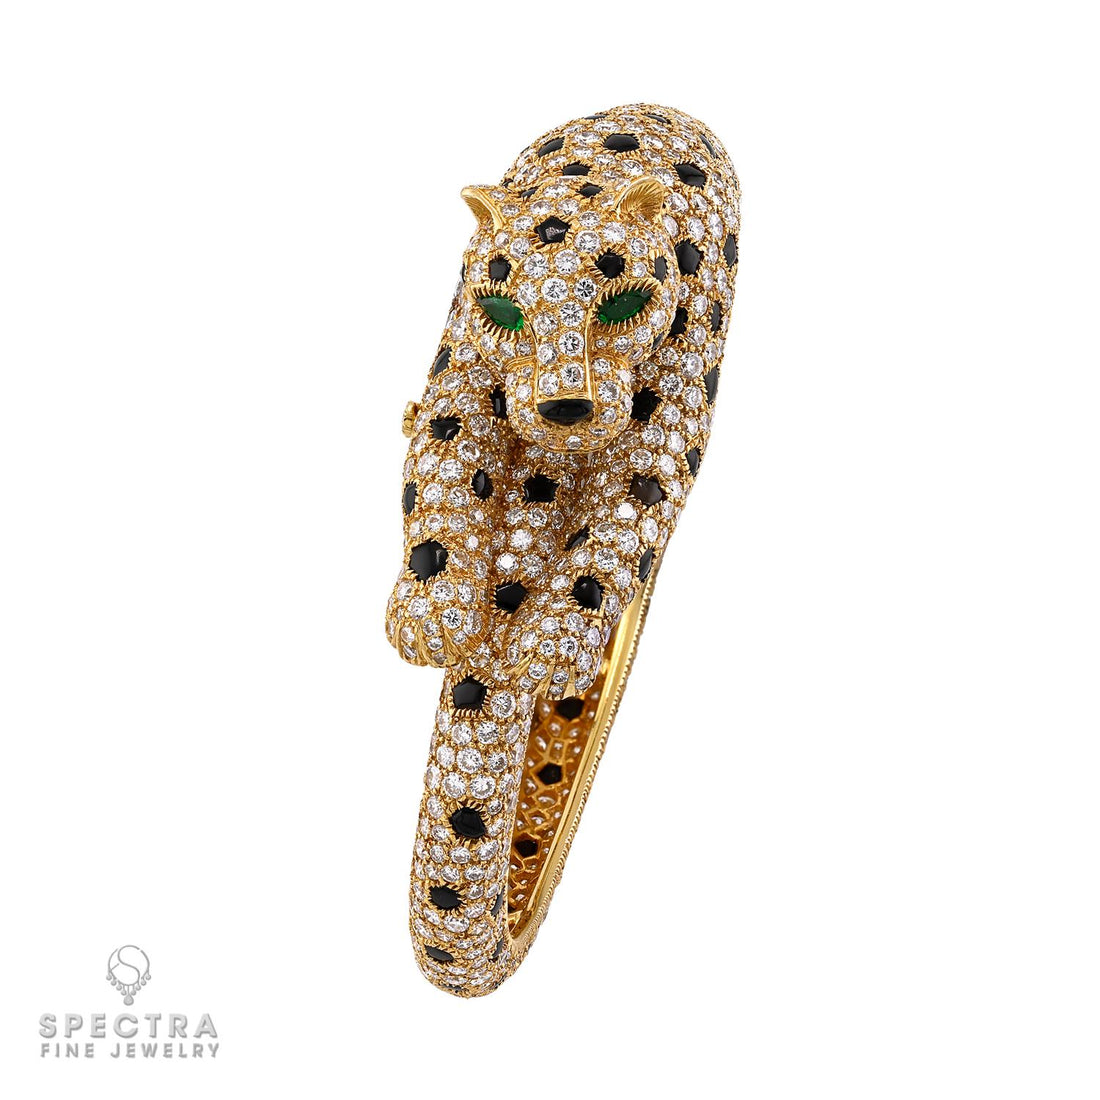 Examining a signed Cartier Panthère bangle—understanding what to look for helps you evaluate pieces before committing to a purchase
Before you wire money or drive across town, there's homework you can do. It won't replace professional authentication, but it will help you avoid the obvious problems—and decide if a piece is worth pursuing further.
Here's what you can realistically assess at home, and what requires expert eyes.
What You Need
Essential:
- A 10x jeweler's loupe (under $20, non-negotiable)
- Good natural light or a daylight lamp
- A smartphone camera with macro capability
- A precision scale that measures to 0.1g (useful, not required)
Helpful:
- A magnet (neodymium magnets are strongest)
- A black light/UV flashlight
- Reference photos from auction houses and brand archives
Step 1: Document Everything First
Before you touch anything, photograph:
- Front view, straight on
- Back view
- Clasp/closure mechanism
- All visible stamps and engravings
- Any areas of wear, damage, or repair
Why? Because your eye sees things at different angles than the camera. Photos give you something to study later, compare against references, and share with experts if needed.
Step 2: The Overall Impression Test
Hold the piece. Real signed jewelry has presence.
Weight: Solid gold and platinum feel substantial. A Love bracelet that feels light is wrong. A Bulgari ring that seems hollow is wrong. You develop this sense over time, but even beginners can feel the difference between solid and plated. If you know the weight, our precious metals converter can help you estimate expected weight for different gold purities.
Balance: Quality pieces are engineered. Earrings hang straight. Bracelets sit properly on the wrist. Asymmetry in supposedly symmetrical designs suggests inferior manufacture.
Finish consistency: Run your finger along edges. Authentic pieces have consistent finishing. Rough spots, sharp edges where there shouldn't be, or uneven polishing are red flags.
Step 3: The Magnet Test
Gold, silver, and platinum are not magnetic.
If your piece jumps to a strong magnet, it's not solid precious metal. Period.
However: Passing the magnet test proves nothing. Brass, copper, and many base metals are also non-magnetic. The test only catches ferrous counterfeits.
Watch for: Clasps and findings sometimes use steel springs. A slight magnetic response in a clasp area might be okay—the entire piece responding is not.
Step 4: Examine the Stamps
Under your loupe, look at every stamp on the piece.
What to check:
- Clarity: Are letters crisp or mushy?
- Depth consistency: Good stamps have even depth
- Alignment: Letters should be level, evenly spaced
- Font accuracy: Compare to verified examples
Common tells:
- Overly deep stamps (trying too hard to look authentic)
- Shallow, uneven engraving
- Wrong font—Cartier's signature has specific characteristics
- Stamps in wrong locations for the era
Need a visual reference? Our hallmarks guide shows what authentic marks should look like across different brands and eras.
The "too perfect" problem: Brand new-looking stamps on supposedly vintage pieces are suspicious. Real vintage jewelry shows wear, including on the stamps.
Step 5: Construction Quality Assessment
How a piece is made matters as much as how it looks.
Examine:
- Prongs: Evenly sized, properly positioned, securing stones firmly
- Solder joints: Clean, minimal, consistent color
- Settings: Stones sit level, no rattling, no visible gaps
- Hinges and clasps: Smooth operation, proper alignment
- Links (chains): Consistent size and shape, proper closure
Red flags:
- Visible glue (never used in fine jewelry)
- Uneven gaps between components
- Solder blobs or discoloration
- Machine marks in supposedly handmade areas
- Stones that move within their settings
Step 6: The Wear Pattern Analysis
Authentic vintage jewelry wears in predictable ways.
Normal vintage wear:
- High points show polish from skin contact
- Recessed areas may have minor tarnish or patina
- Clasps show use at contact points
- Rings show wear on the band where it contacts fingers
Suspicious patterns:
- Uniform "distressing" that looks artificial
- Wear in illogical places
- No wear on supposedly 50+ year old piece
- Worn stamps but unworn surfaces
Step 7: The UV Test
A blacklight reveals things the eye misses.
What UV shows:
- Repairs (different materials fluoresce differently)
- Replaced stones (may fluoresce unlike originals)
- Glue residue (often glows)
- Surface coatings and treatments
This test is informational, not definitive. Different lighting conditions and materials produce varying results.
What You Can't Test at Home
Metal content: Without destructive testing or XRF equipment, you can't truly verify gold content. Stamps help, but stamps can be faked.
Gemstone authenticity: Distinguishing lab-grown from natural diamonds, or treated from untreated sapphires, requires gemological equipment.
Brand authentication: Matching construction details to specific brand standards takes expertise and reference material most people don't have.
Provenance: Papers can be faked. Box and papers add confidence but don't prove authenticity.
The Decision Framework
After your home assessment, you should be able to answer:
Pass: Nothing obviously wrong. Stamps look legitimate. Construction quality appropriate for the brand. Worth professional authentication or purchase from a trusted source.
Investigate further: Some concerns but not dealbreakers. Request more photos. Ask specific questions. Consider conditional purchase with return option.
Walk away: Obvious problems. Failed magnet test. Wrong fonts. Poor construction. Implausible story. Trust your analysis.
When to Get Professional Help
Always get professional authentication for:
- Purchases over $1,000
- Pieces you're not 100% confident about
- Items you plan to insure or resell
- Anything from unfamiliar sellers
For a deeper dive into professional methods, see our complete authentication guide.
Where to get help:
- Established dealers who specialize in signed jewelry
- Independent appraisers with gemological credentials
- Brand boutiques (for current production pieces)
The Realistic Takeaway
Home authentication is triage, not diagnosis. You're looking for red flags that eliminate pieces from consideration, not proof that something is genuine.
When you find a piece that passes your home inspection, you've done the first level of due diligence. You've eliminated the obvious fakes. You've identified what questions remain.
The next step is buying from a source that stands behind what they sell, or getting independent verification before committing significant money.
Want a Second Opinion?
Send photos. We'll tell you what we see—including what your home inspection might have missed.
Independent educational resource. Not affiliated with any brands mentioned.
Continue Reading
Get the Collector's Newsletter
Join collectors who get authentication tips, market insights, and new guide alerts. No spam, just practical knowledge.
Need Help?
Send photos of a piece you're evaluating. We'll give you a straight read—no pressure, no BS.
Contact Spectra Fine Jewelry →Ready to Browse Authenticated Pieces?
Every item at Spectra Fine Jewelry goes through our verification process before it hits the case. No guesswork. No surprises.